
Our Bathroom Renovation Process in Newmarket
Five structured stages from your initial bathroom photos to final handover—so you know how the quote is built, when permits apply, and what happens in your house each week.
Five steps from first photos to finished bathroom
Quote from photos
Upload room photos or a quick video clip—or talk us through by phone—and get an itemized written quote.
Measure & drawings
We verify dimensions on site, check framing and plumbing, and prepare layout drawings for your sign-off.
Permits & condo paperwork
If drains move, we plan for a Town of Newmarket permit. In a condo, management approves first.
Protected on-site build
Demolition, rough plumbing, ESA electrical, membrane waterproofing, tile setting, fixtures and custom glass.
Handover & 1-year visit
We test every drain and valve with you at completion and return in year one for minor settling touch-ups.
1. Itemized written quote from your photos or video
Getting a real price for your Newmarket bathroom does not start with a high-pressure living-room pitch. Use our online quote form to send up to five photos or short video clips of your bathroom, or call us at (647) 557-5735 to talk through the room.
The most useful shots capture the bathroom from the hallway door, the inside of the tub or shower, the floor, the ceiling, and the pipes inside the vanity cabinet. Tell us what you want to change and which tier on our Newmarket bathroom renovation cost page fits your target budget.
We reply with a line-by-line written quote that separates site labour from finish materials. Because our packages and trade rates are standardized, our photo quote usually lands very close to the final contract figure. Any item that cannot be verified until we look in person—such as joist direction under a planned curbless shower or subfloor condition around an old toilet—is noted clearly in writing.
2. On-site verification and layout drawings
Once you review the written numbers and want to proceed, we book a calm, focused in-home visit to take laser measurements, inspect the plumbing stack, check exhaust fan routing and confirm the final written estimate for your contract.
Before demolition is scheduled, we prepare scaled layout drawings (and a 3D view when helpful) for your approval. Together we lock in vanity dimensions, door swing clearance, recessed niche height, bench depth, tile layout centrelines, drain position and shower glass swing. Moving a niche or drain line on a drawing takes two minutes; moving it after porcelain is set costs time and tile.
3. Town of Newmarket permits and condo board sign-off
When your renovation replaces a tub, shower, toilet and vanity in their existing spots, the Town of Newmarket does not require a municipal building permit. When the plan relocates drains, adds a new fixture, alters framing or creates a basement bathroom, a Town of Newmarket building permit is required and we build the ePlans submission and municipal plumbing inspections right into the timeline. Read our full guide to Newmarket bathroom renovation permits.
If your home is a condominium suite along Davis Drive, Yonge Street or in Glenway, the property manager and board must approve the alteration package prior to start. We provide our WSIB clearance certificate, commercial liability insurance certificate naming the condominium corporation, and scope description, and coordinate service-elevator bookings. Details are on our small and condo bathrooms page.
4. Seven-stage construction sequence on site
Every bathroom we build follows the same disciplined sequence so nothing behind the tile is rushed:
- Floor protection, dust containment and demolition. We lay protective runners from your entrance to the work zone, set up dust protection, strip the old fixtures and tile back to the studs, and haul debris away the day it comes out.
- Rough plumbing and ESA-inspected electrical. New supply lines, relocated ABS drains, a new pressure-balanced or thermostatic shower valve, GFCI outlets, pot lights, heated-floor cables and an insulated exhaust fan ducted outdoors.
- Framing, levelling and solid blocking. Framing for niches, benches and partition walls, plus 2x8 or 2x10 wood blocking between studs wherever grab bars, towel bars or heavy glass hinges will mount.
- Continuous membrane waterproofing. Waterproof backer board, sheet membrane and sealed corner and pipe bands across the entire shower enclosure and floor pan. See our walk-in showers page for why this step is critical.
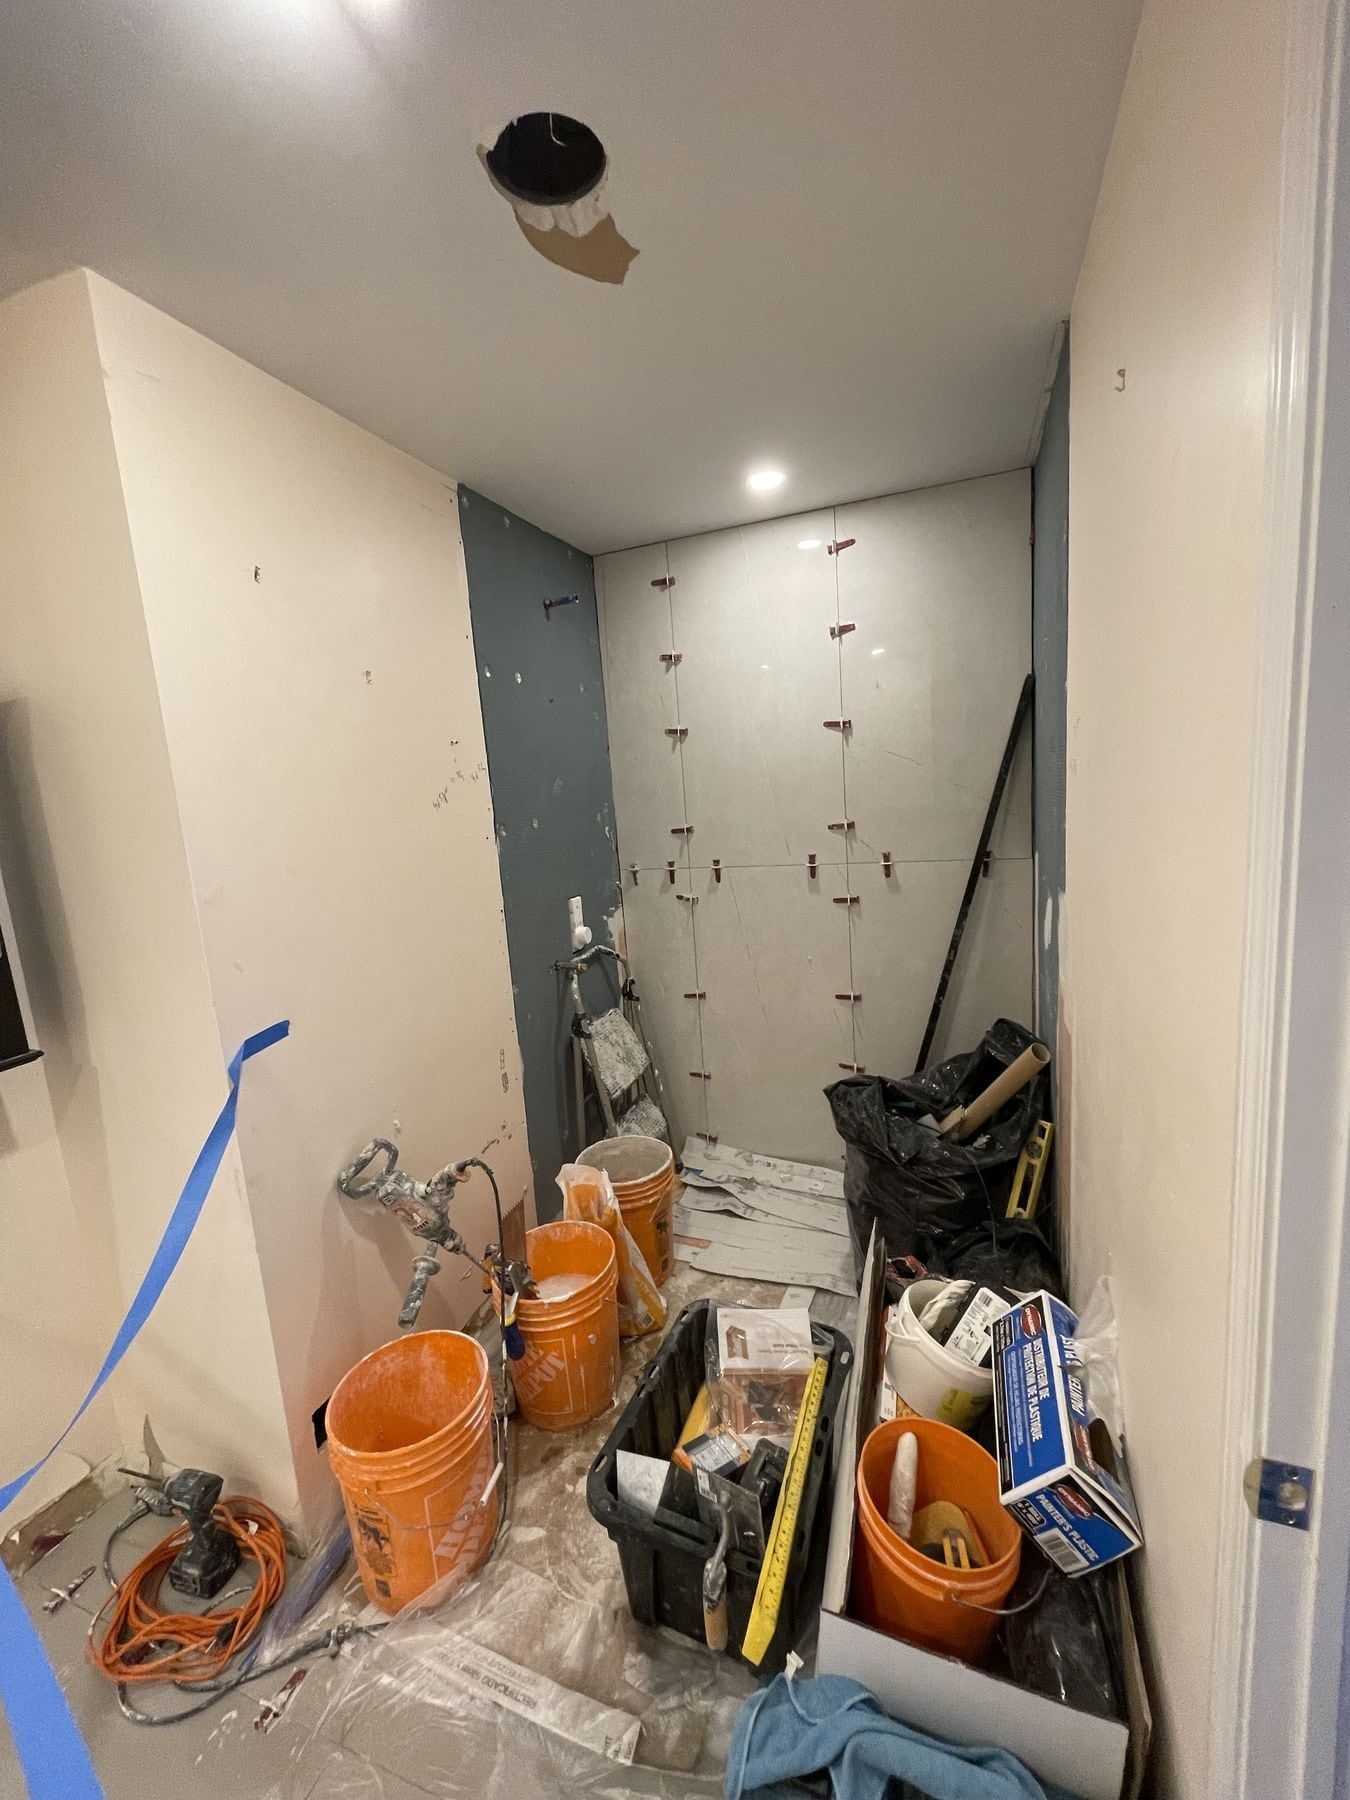
- Tile layout and setting. Floor porcelain, shower walls, niches and feature walls set with levelling clips to your approved drawings, then grouted and caulked with flexible silicone at all plane changes.
- Cabinetry, stone and plumbing trim. Vanity cabinet, quartz or stone countertop, undermount sinks, faucets, one-piece toilet, backlit or framed mirrors, sconces and final paint.
- Tempered shower glass measurement and install. Once tile is complete, custom 10 mm frameless glass is measured directly off the finished walls and installed as the closing step.
A complete full bathroom renovation typically takes three to five weeks on site, while an alcove tub-to-shower conversion normally finishes in one to two weeks.
5. Final walkthrough and first-year service call
At completion we inspect the room with you, test every faucet, shower head, drain and GFCI outlet, and take care of any final touch-up before handover.
Your project is backed by our written labour warranty plus a complimentary service visit within the first year to adjust cabinet hardware or refresh caulking after seasonal house movement. For advice on comparing contractors before you sign, read how to vet a bathroom contractor in Newmarket.
Common questions
Can I get a detailed written price before booking an in-home visit?
Yes. Upload a few photos or a short walkthrough video on our quote page—or review the room with us over the phone—and we will send back a line-by-line written quote. Once the numbers make sense to you, we schedule an on-site measure and prepare layout drawings before you sign.
Do you prepare bathroom layout drawings and help with finish selections?
We produce dimensioned layout drawings—and 3D views when helpful—for your sign-off prior to demolition. We also walk you through practical choices on tile size, grout joints, niche placement, vanity plumbing clearance and shower glass swing so everything fits cleanly on site.
What steps do you take to keep dust and debris out of the rest of the house?
Before a single tile is removed, we lay protective floor runners from your front door or garage up to the bathroom, hang dust barriers at the doorway, stage tools neatly, and haul demolition waste out promptly rather than piling it on your driveway.